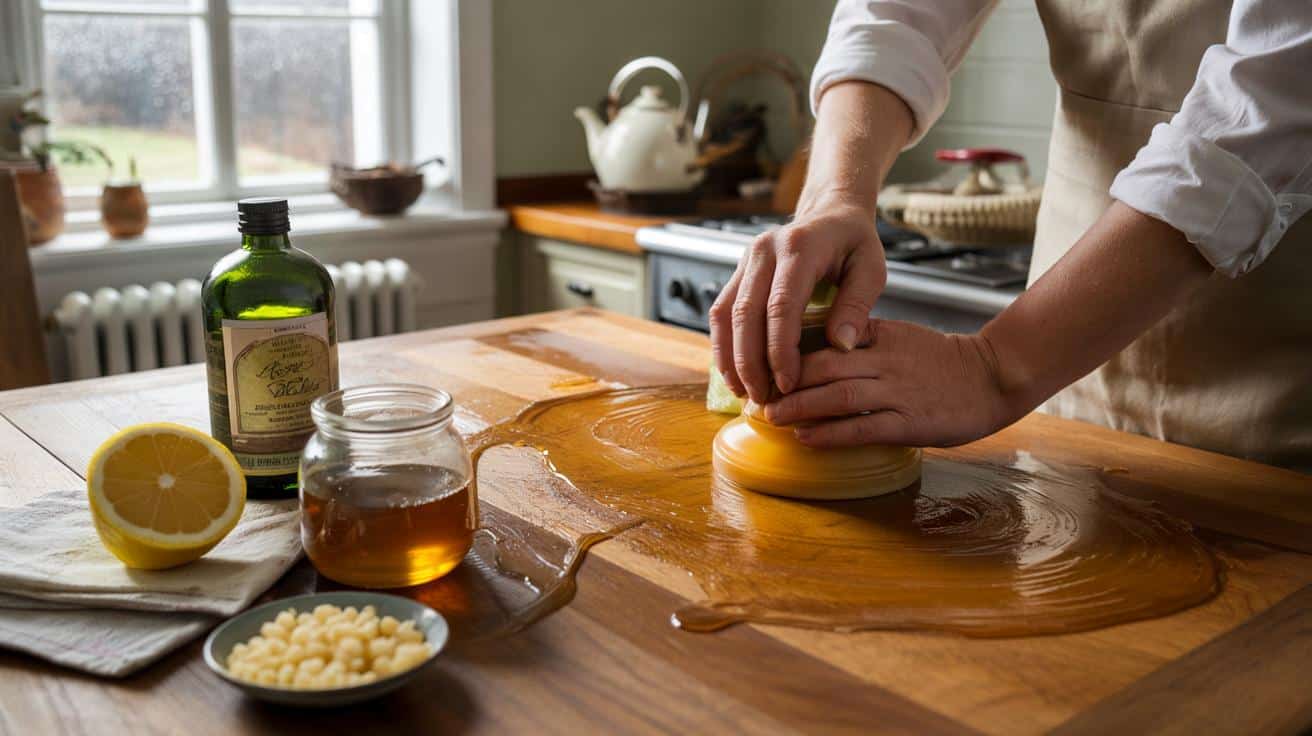
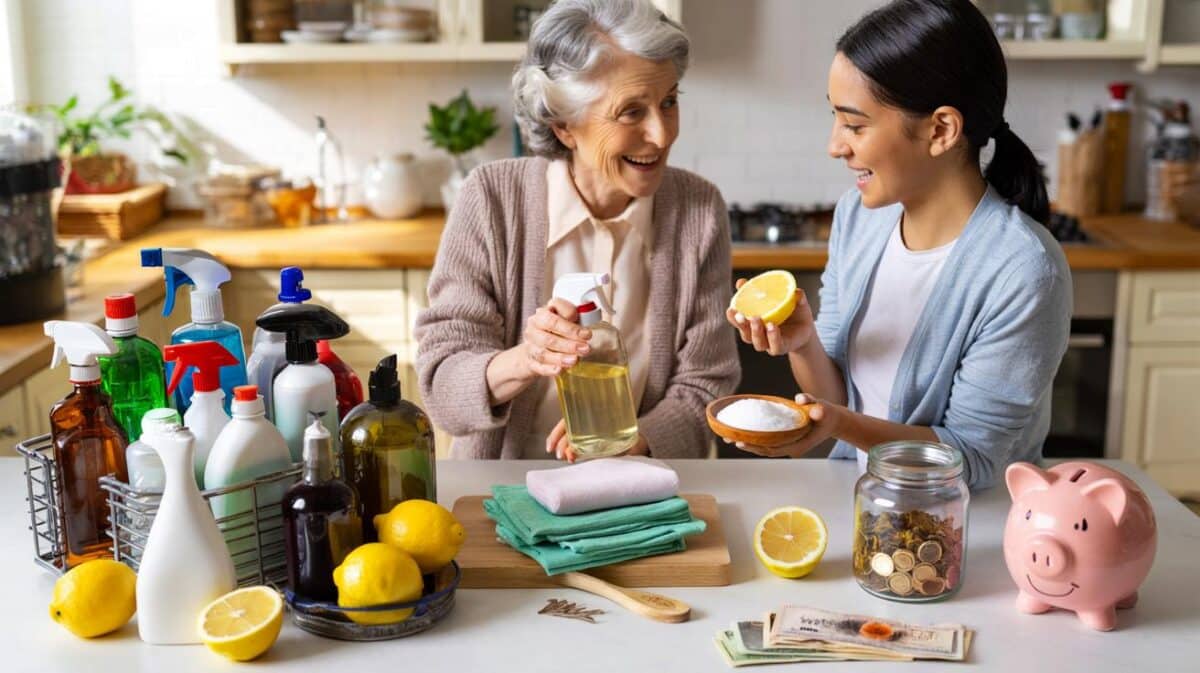
Across the UK, people are swapping spray cans for a small pot of homemade polish built from three familiar ingredients: beeswax, olive oil and a citrus note. The blend promises a soft sheen, a warmer tone and fewer synthetic residues on the surfaces you touch every day. It fits the mood of the moment, where repair beats replacement and a gentle scent of lemon beats the sharp tang of solvent.
Why a three-ingredient polish is back
Cost, control and conscience sit behind the shift. A branded paste can set you back £12 to £18 per tin. A homemade batch costs a handful of coins and takes half an hour. You know what goes into it, and you can tweak the scent, the hardness and the shine. The method comes from cabinetmakers and home workshops, not a lab.
Online searches for traditional finishes rise each winter as dry air makes timber feel parched. Families facing higher bills are reaching for long-standing fixes that turn dull oak, pine and beech into something that looks cared for again. Restorers also point out a bonus: beeswax polishes leave no plasticky film, so future repairs stay simple.
Three ingredients, 30 minutes, under £4 for 100 ml: a seasonal rescue plan for thirsty timber.
What you need
- 35 g beeswax pellets or shavings
- 70 ml extra-virgin olive oil
- 5–10 drops lemon or sweet orange essential oil
- Heatproof jar with lid
- Small pan and a bowl for a bain-marie
- Soft cotton cloths or microfibre
Vegan swap: use carnauba wax in the same weight. It sets harder and buffs to a higher gloss.
How to make it
Set up a gentle bain-marie
Pour a little water into a saucepan and bring it to a low simmer. Place the wax in a heatproof bowl above the water. Keep the temperature modest. Beeswax softens from roughly 62°C and should stay below 80°C.
Blend and scent
Stir the wax as it melts. Add the olive oil in a thin stream. Mix until the blend looks clear and even. Lift the bowl from the heat, then add the citrus drops. The aroma should be noticeable but not overpowering.
Pot and set
Decant into a clean jar. Leave the lid off while the mixture cools for around 30 minutes. It should set to a balm-like texture you can scoop with two fingers.
Professional application tips
Prepare the surface
Wipe dust away. On dull or rough areas, sand lightly with 240-grit paper in the direction of the grain. Remove all residue with a clean cloth.
Work in thin coats
Pick up a small amount and massage it into the timber using tight circles. Aim for a whisper-thin film. Leave it for 15 minutes. Wipe off any residue with a second cloth. Repeat up to three times on thirsty wood.
Buff for sheen
After the final coat, buff briskly with a dry cloth until the surface feels smooth and looks even. Allow several hours before heavy use.
Thin layers beat thick smears. Multiple light coats sink in and cure evenly, without sticky patches.
What results to expect
You should see richer grain, a soft satin sheen and a warmer tone. The finish repels light splashes, reduces dust cling and helps resist hairline scratches from everyday handling. The scent is subtle and clean. On very pale woods, expect a slight amber cast that deepens the figure of the grain.
- Best for: oak, ash, beech, teak, walnut, pine furniture without high-gloss lacquer.
- Check first: light maple, birch and whitewashed finishes can darken; test on the back or underside.
- Avoid: high-gloss polyurethane coatings, as wax may haze or smear rather than bond.
- Frequency: refresh every 8–12 weeks in heated homes; more often near radiators or stoves.
How this stacks up on cost and time
| Option | Typical quantity | Approximate cost | Hands-on time |
|---|---|---|---|
| Homemade beeswax blend | 100 ml | £3–£5 (ingredients spread over several batches) | 30 minutes to make, 30–45 minutes to apply |
| Shop-bought paste polish | 150–200 ml | £12–£18 | 10–20 minutes to apply |
Actual prices vary with brand, quality of wax and where you buy. The homemade route often leaves you with enough materials for repeat mixes, which reduces the unit cost further.
Safety, storage and small print
Keep the wax blend away from direct flames and do not overheat the bain-marie. Label the jar clearly and store it cool and dark. Cloths used for polishing should dry flat before binning. Although olive oil is not a drying oil, careful storage reduces any chance of odour. Households with pets or small children should limit essential oils or skip them altogether; the polish still works without fragrance.
Troubleshooting and variations
Sticky finish
Too much product or not enough buffing causes tackiness. Wipe with a cloth lightly dampened with white spirit, let the surface rest, then reapply a thinner coat.
Too soft in warm rooms
Increase the wax-to-oil ratio. Try 40 g wax to 60 ml oil for a firmer balm that resists summer heat.
Cloudy patches
Application in a cold room can make wax bloom. Warm the furniture gently and buff again with a clean cloth.
Alternative oils
Refined mineral oil gives a neutral scent and stable shelf life on chopping boards. Walnut oil polymerises and leaves a slightly tougher film but avoid it for nut allergies. Linseed oil hardens well yet needs longer curing and good ventilation.
A heritage method, updated for busy homes
This blend respects the way timber moves through the seasons. It feeds fibres rather than encasing them, so repairs remain straightforward. It also helps families cut down on aerosol use and harsh solvents, while keeping a familiar, low-key shine on dining tables, sideboards and toys that get handled daily.
Try a small patch trial, time the coats between meals, and note how the grain responds. Keep a simple log with dates, wood species and ratios. After two or three cycles, you will have dialled in a personal recipe that suits your furniture, your climate and your nose, without paying for a cupboard of half-used tins.


Just tried this on our tired pine table — 30 mins, under a fiver, and it’s glwoing. Nan was right.
Isn’t olive oil non-drying and prone to going rancid? Any long‑term odour on warm radiators? Also, would this darken pale maple, or should I avoid it entirely?