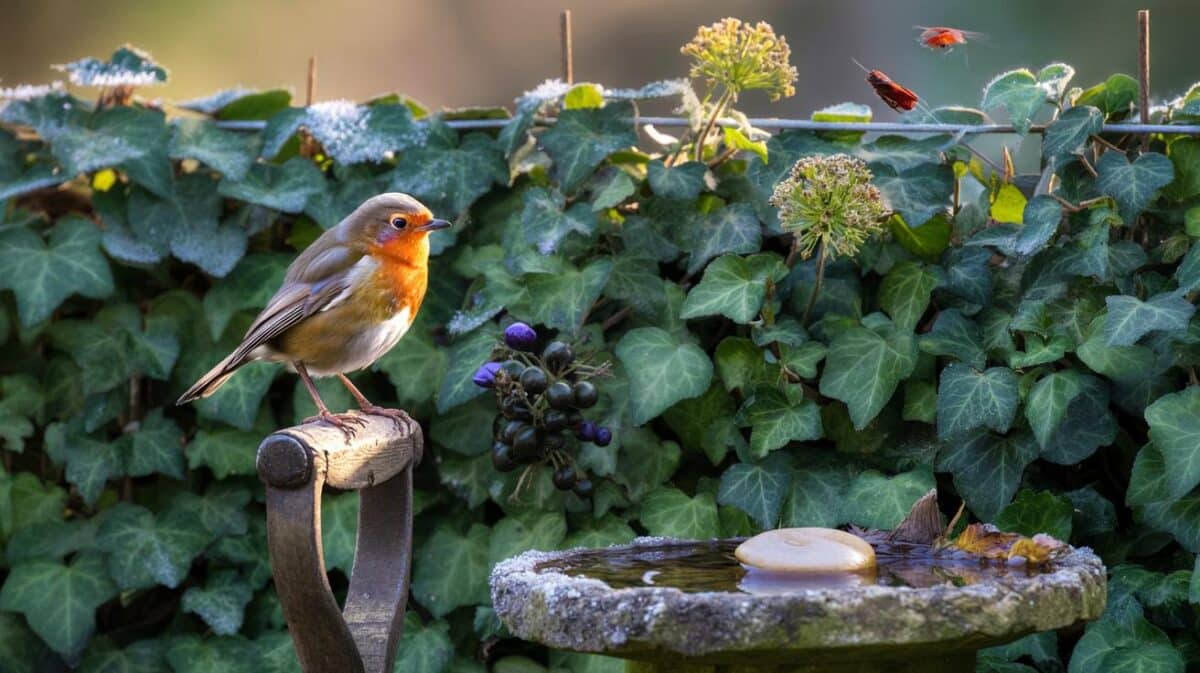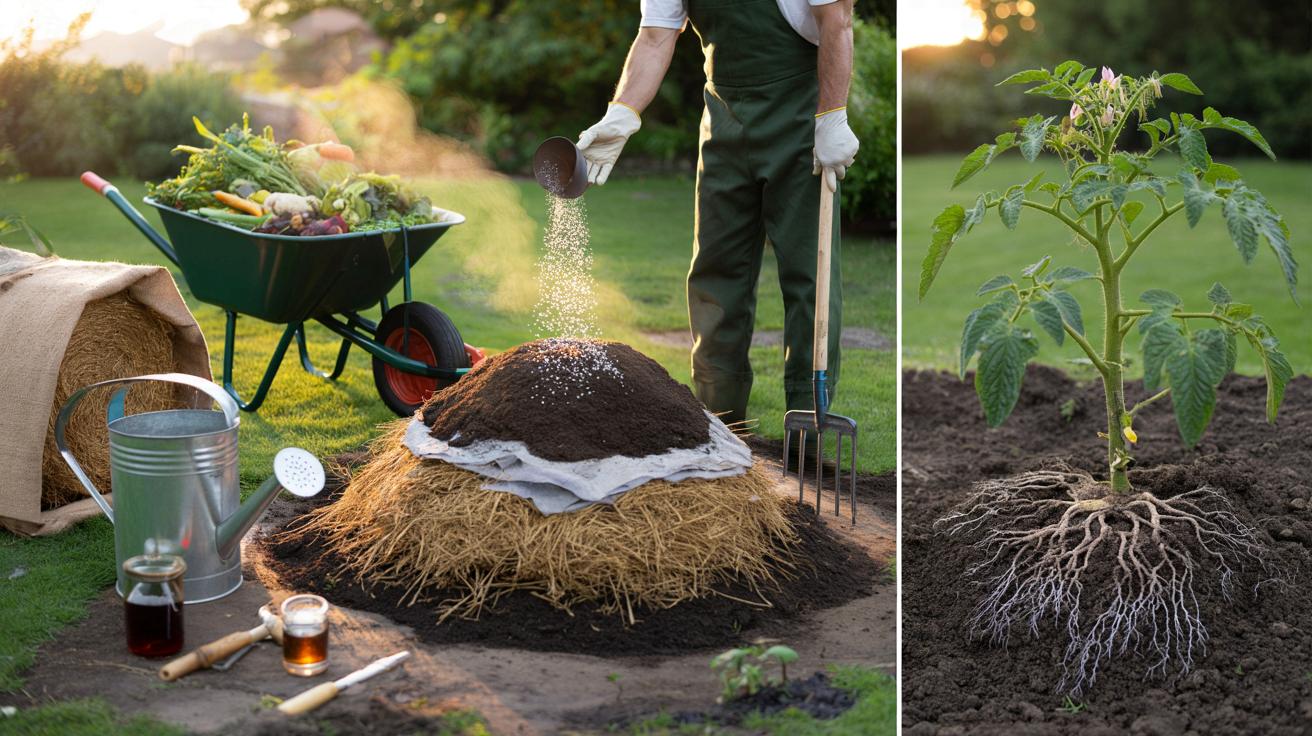
The method pairs everyday green waste with straw, farmyard manure and a benign soil fungus. It builds a living defence around roots in roughly a month, while cutting bin loads and bills for bagged compost.
A grandmother’s trick returns to British sheds
The idea is not new. Smallholders across South and Southeast Asia noticed long ago that some compost heaps seemed to guard crops from disease. Families passed down the habit of adding a pinch of “good mould” to their piles. Many years later, horticultural researchers put a name to one of the helpers at work: Trichoderma, a group of beneficial fungi that colonise compost and the rhizosphere. The approach resurfaced in European gardens through folk recipes, and it now draws fresh interest as prices rise and growers chase resilient harvests without chemical crutches.
How it protects plants
Trichoderma competes with harmful fungi for space and food. It binds to plant roots, nudges them to produce defence compounds and secretes enzymes that break down certain pathogens. The result is a compost that does more than feed. It acts like a biological shield in the soil, especially against common soil-borne troubles that thrive in wet, cool spells.
Think of it as compost with a job: it feeds, it crowds out troublemakers and it primes roots to fend for themselves.
What you need for one cubic metre
For a standard heap roughly 1m × 1m × 1m, aim for a carbon‑rich base, moist nitrogen sources and a measured dose of fungus.
| Item | Amount | Role |
|---|---|---|
| Straw or dry hay | About 200 litres (4 parts) | Carbon, structure, airflow |
| Fresh manure | About 150 litres (3 parts) | Nitrogen, heat, microbes |
| Trichoderma inoculant | 500 g | Beneficial fungal starter |
| Molasses or honey | 2 tbsp in warm water | Quick energy for microbes |
| Rainwater | As needed | Moisture without chlorine |
On a tight budget, some gardeners culture a starter by mixing a small pinch of Trichoderma into uncooked rice, then fermenting it in a breathable bag for a week. Use the grains as your inoculant. Keep everything clean to avoid unwanted moulds.
Step by step: from heap to shield in four weeks
Day 0: build and balance
Soak straw for 24 hours. It should feel damp, not sodden. A firm squeeze should yield only two or three drops. In a barrow, blend fresh manure with warm water and the molasses. Sprinkle the Trichoderma evenly across this mix and fold it in gently. Layer the heap: 20 cm of damp straw, then 15 cm of the manure mix. Repeat to about a metre high. Cap with a breathable cover such as hessian, an old sheet or a perforated tarp.
Days 3–14: watch, sniff, adjust
Push a stick in to create air channels every few days. Slide your hand into the centre. The core should feel warm, roughly 35–40°C. If it runs hot and steamy, add more straw. If it stays cool and lazy, add a little extra manure. Use the nose test. You want the smell of a woodland floor after rain. Ammonia or rotten notes mean it is too wet or too nitrogen‑heavy.
Target 35–40°C and a clean, earthy scent. Ammonia signals excess nitrogen; sourness points to poor airflow.
Week 2: the first turn
Turn the heap with a fork, bringing the outside to the centre. Rebuild the layers loosely to keep oxygen moving. Moisten if the mix has dried. Keep the cover on to hold humidity while letting air in.
Week 3: a light second turn
Turn again if the core temperature has fallen below hand‑warm. Break up clumps. If you see white, threadlike fungal growths running through the mix, that is a good sign of colonisation.
Week 4: ready to use
The compost should look like dark chocolate crumbs and fall apart between your fingers. It should no longer resemble the original ingredients. At this stage, it works as a general soil improver and as a protective amendment around vulnerable crops.
How to apply for protection and growth
In beds and borders, blend the finished material at roughly 20% by volume into the top 10–15 cm of soil. Around fruit bushes, lay a 2–3 cm ringed mulch, keeping it a few centimetres off the stems. For seed trays, use it straight for hardy seedlings or cut it 50:50 with sieved loam for gentler starts.
Many growers also brew a simple compost tea. Steep a generous handful of the finished compost in 10 litres of rainwater for 24–48 hours, stirring to keep it aerated. Strain and water the base of stressed plants the same day. Do not store the brew. Clean kit thoroughly.
Pro tips that prevent failure
- Water choice: use rainwater or let tap water stand overnight to release chlorine.
- Moisture test: squeeze a handful; aim for two to three droplets, not a stream.
- Airflow: avoid compacting. Create vertical air holes with a stick every three days.
- Heat control: add straw if it overheats; add fresh manure if it stalls.
- Handling: wear gloves and a mask when tipping dry inoculant to avoid inhaling dust.
- Strain matters: buy a garden‑labelled Trichoderma product; it lists species and usage rates.
A living compost thrives on balance: air, moisture, carbon, nitrogen and time. Nudge one, check the others.
What the science says
Trichoderma species often act through three routes at once. They outcompete harmful fungi on the root surface. They break down pathogen cell walls with enzymes. They trigger the plant’s own defence pathways, a process known as induced resistance. Trials report reduced incidence of damping‑off and root rots in vegetables and ornamentals when soils carry active populations of these fungi. Results vary by strain, crop and conditions, so treat the method as a tool rather than a cure‑all.
Costs, yield and environmental angle
Rough retail prices in the UK suggest a modest outlay: a small tub of Trichoderma inoculant can cost £8–£15, a bale of straw £5–£7, and a bottle of molasses a few pounds. Many gardeners source manure free or at low cost from local stables. One cubic metre of finished compost roughly equals 30–35 standard 30‑litre bags. Diverting a season’s green waste into this heap keeps material out of landfill, cuts methane risk and locks more carbon into soil as stable humus.
Risks, limits and who should avoid it
Beneficial fungi do not replace hygiene. Start with clean tools and disease‑free plant material. Do not add cooked food or meat scraps. Gardeners with severe mould allergies should delegate inoculant handling. Keep pets away from fresh manure. If your plot sits on waterlogged clay, raise the heap on pallets to drain. Extremely cold spells slow the four‑week timeline; allow an extra week or two in frosty periods.
Troubleshooting at a glance
| Symptom | Likely cause | Quick fix |
|---|---|---|
| Strong ammonia smell | Excess nitrogen | Add straw, turn, vent more |
| Sour, slimy patches | Too wet, low oxygen | Fork in air holes, add dry straw |
| No warmth after 5 days | Low nitrogen or dryness | Add a little fresh manure, moisten |
| Grey ash‑like layer | Overheating | Break up clumps, add straw, shade pile |
Where this fits in your garden plan
Use the protective compost around crops that hate wet feet and fungal pressure: tomatoes in cool summers, cucurbits after a sodden spring, roses showing stress after pruning. Combine with crop rotation, good spacing and careful watering at the base rather than over foliage. You can also boost new hedges and fruit canes by lining planting holes with a spadeful of this material to seed the root zone with friendly microbes.
Extra ideas for keen growers
Trial two beds side by side. Amend one with 20% of the protective compost and leave the other as your usual practice. Track growth, flowering time and disease notes for eight weeks. Count fruit set or cut stems by weight. This small experiment gives you numbers for your own microclimate and soil, and it helps you judge whether to scale the method.
If space is tight, run a half‑size heap in a 200‑litre bin with holes drilled along the sides. The smaller mass heats faster but dries out quickly, so check moisture twice a week. Urban balconies can still benefit from the tea made with a handful of finished compost shared among containers.
Four weeks, a few simple ingredients and a watchful nose can turn bins of peelings into protection your plants can feel.