New guidance urges safer cleaning habits, sharper routines, and smarter replacements.
Scientists have renewed attention on a simple heat trick many households already use. The humble microwave, plus water and two minutes, can knock back a chunk of the germs living in a kitchen sponge. The method is quick. The gains are real. The limits matter.
Why your sponge is a bacterial hotspot
A used sponge traps crumbs, grease, and moisture. Its pores hold water for hours. Microbes thrive in that damp, sheltered structure. Studies have found staggering counts in well‑worn sponges, including germ species linked to tummy bugs. You often pick the sponge up without thinking. You move from the sink to the hob, then to the worktop. Each touch spreads whatever lives inside those pores.
Environmental health authorities warn about permanently or intermittently damp tools. Sponges, dishcloths, and mops all sit in the danger zone. The longer the drying time, the higher the risk. Prolonged humidity gives bacteria a steady buffet and a warm bed.
Heat cuts risk, but moisture is the lever. A wet sponge heats quickly and evenly. A dry one can scorch before the core gets hot.
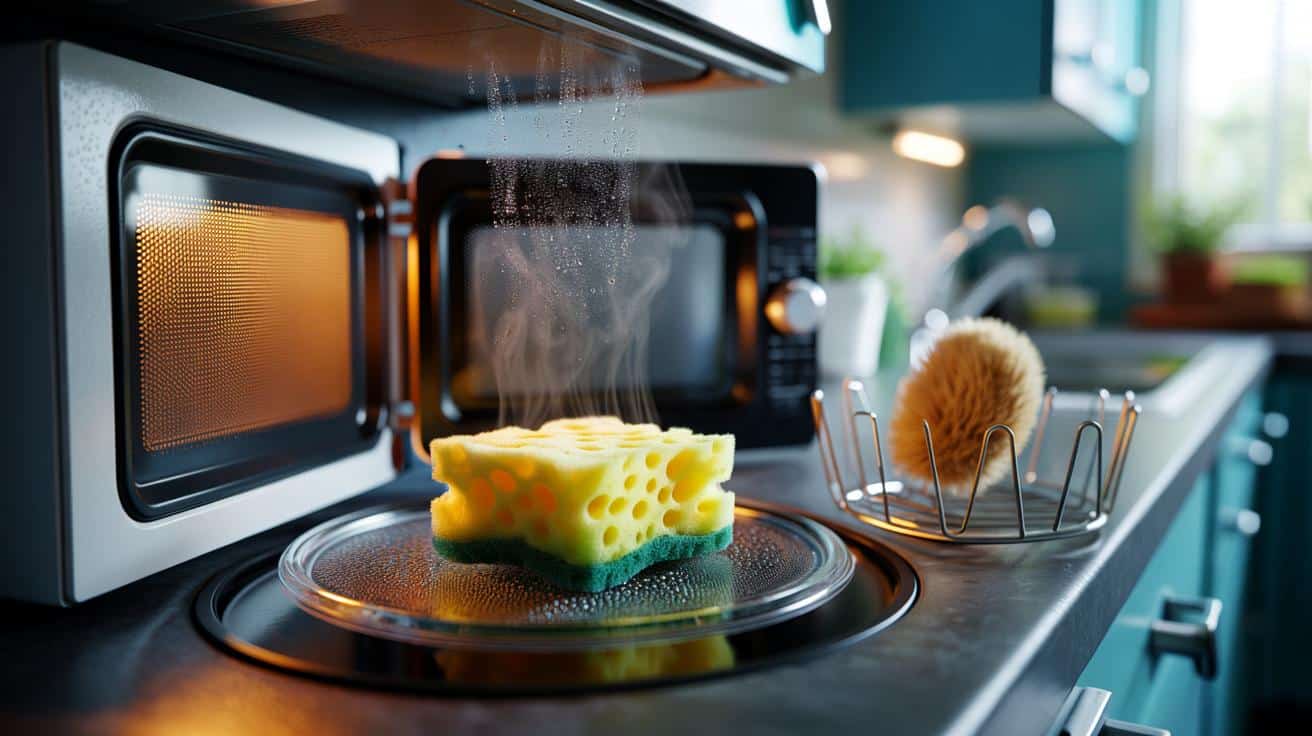
The microwave method: how to do it safely
Households ask the same question every year: does the microwave actually help? Tests show a clear benefit when you follow a strict protocol. Reports cite reductions of about 60% in microbial load after a short blast, which is meaningful for day‑to‑day hygiene. You need the right conditions, though.
Follow this three‑step routine
- Soak the sponge until it is thoroughly wet. Squeeze once to avoid drips, but keep it saturated.
- Place it in the microwave alone. Set full power for 2 minutes. Stay nearby and watch.
- Let it cool before handling. Then wring and leave it to dry in free air, not in a puddle.
Never microwave a dry or metal‑trimmed sponge. Dry material can char, and metal can spark.
Why it works: microwaves agitate water molecules and generate heat inside the sponge. High heat disrupts many bacteria. The effect depends on starting moisture, power level, and local hot spots. Consistency matters more than bravado. Two minutes at full power on a saturated, non‑metallic sponge ticks the right boxes for most domestic ovens.
What the numbers mean for your kitchen
A rough 60% reduction does not sterilise the sponge. It lowers risk. It buys time between replacements. Pathogens can remain, especially after contact with raw meat juices or contaminated surfaces. You still need hand‑washing, clean chopping boards, and separation between raw and ready‑to‑eat foods. Treat the microwave step as a routine house‑keeping move, not a magic eraser.
| Method | Time/temperature | How it’s done | Reported effect | Watch‑outs |
|---|---|---|---|---|
| Microwave | 2 minutes at full power | Soak sponge; heat alone; cool; air‑dry | About 60% fewer microbes | No metal; never dry; supervise heating |
| Boiling water | 5 minutes at a rolling boil | Submerge fully; use tongs to remove; air‑dry upright | Marked reduction with proper immersion | Risk of burns; fibres may degrade faster |
| Diluted bleach | Approx. 5 minutes contact | Pre‑clean sponge; soak in a mild solution; rinse; dry | High antimicrobial activity when diluted correctly | Never mix with acids; ventilate; protect skin |
Alternatives when you avoid the microwave
Not keen on the microwave? Boiling is a straightforward option. Bring a pan to a lively boil and push the sponge fully under the water. Keep it submerged for several minutes. Lift it out safely and let it dry in moving air. Bleach also works well when used with care. Rinse visible soil first. Then soak the sponge for around five minutes in a mild bleach solution, such as 100–200 ml unscented household bleach in 5 litres of cool water. Rinse thoroughly and dry upright.
Some households prefer gentler mixes. Warm saline and vinegar solutions feature in many kitchen routines. Heat helps. Acid and salt shift biofilms. Results vary by concentration and soiling. Test on a small area if your sponge contains delicate fibres or dyes.
How often to replace and what to use instead
Frequency matters as much as method. Many virologists suggest weekly replacement for a heavily used sponge. Light users can stretch that to a fortnight if the sponge dries quickly each day. A sponge that smells, sheds, or stays damp deserves the bin. No microwave can fix crumbling foam or deep odours.
Swap tools for lower risk. Microfibre cloths wash well at 60°C and dry fast on a line. Dish brushes shed water quickly and don’t trap crumbs. Copper scourers resist smells and dry fast when used for pans, though they still need washing. Paper towels make sense for soaking raw meat juices before disinfecting the surface.
Set up your drying station
- Store sponges upright so air can reach both sides.
- A rack or clip above the sink speeds drying.
- Avoid leaving sponges in the sink or on a wet counter.
- Rotate two sponges to allow full drying between uses.
A sponge that stays wet for 10 hours becomes an incubator. Fast drying breaks the growth cycle.
Common mistakes and how to avoid them
People often heat a half‑dry sponge and expect results. That risks scorching and poor disinfection. Soak first every time. Others pack the microwave with cutlery or plates during the run. Give the sponge space so steam can vent. Some households reuse a “raw chicken” sponge across the kitchen. Keep a separate tool for high‑risk tasks. Better yet, use disposable paper for raw juices and bin it.
Bleach errors also crop up. Stronger is not safer. Stick to mild dilutions and cool water. Never mix bleach with vinegar or limescale removers. The combo releases hazardous gas. Open a window. Wear gloves if your skin reacts to cleaning products.
What scientists say about heat and microbes
Heat damages proteins and membranes in many bacteria. Above about 60°C, common kitchen microbes begin to fail. Time and temperature move together. Short bursts at high heat can outpace longer, lukewarm soaks. Moisture helps heat travel into the core of the sponge. That is why a saturated sponge responds well in a microwave.
Heat is not equal for every microbe. Some spores tolerate higher temperatures. Biofilms can shield cells inside dirty fibres. Pre‑cleaning, strong wetting, and adequate time all raise the odds of a useful reduction.
Extra tips: safer kitchen routines you can start today
Map your cleaning tasks. Assign low‑risk jobs to the sponge, such as wiping a just‑washed sink. Reserve cloths for counters and tables. Use brushes for pans. Keep a separate kit for raw protein prep areas. Label it with a marker if needed. Rinse tools after use. Then either heat, soak, or boil them. Finish by air‑drying in a sunny or well‑ventilated spot.
Try a simple exercise this week. Count how often your sponge stays wet after 8 p.m. If it’s still damp at bedtime, you need a faster drying setup or a second sponge. Track smells and fraying. Replace before problems appear. Small, consistent actions cut risk without fuss.