Across the UK, households wrestling with flat-pack kits face the same Sunday shock: a leaning bookcase, a jammed drawer, a missing screw. Retail staff see the weekend surge, and DIY aisles get busy. Here is the practical, time-saving playbook that turns a misbuild into a salvageable save before visitors knock.
Why the flat-pack panic peaks now
Longer evenings invite indoor jobs. People open the box after lunch and hit a wall by dusk. Instructions look simple, but minor slips spread trouble. A door scrapes because a cam lock rotated the wrong way. A shelf bows because fixings loosened during the build. Small errors multiply, and frustration grows.
Returns feel tempting, yet they waste time and fuel, and rarely fix the root cause. Most failures respond to quick diagnosis and a light touch. You can usually rescue the build with hand tools and a £15 repair kit.
Tighten visible fixings, realign one piece at a time, then reinforce the weak point. Avoid full dismantling unless safety demands it.
Spot the fail fast
The 3-minute triage
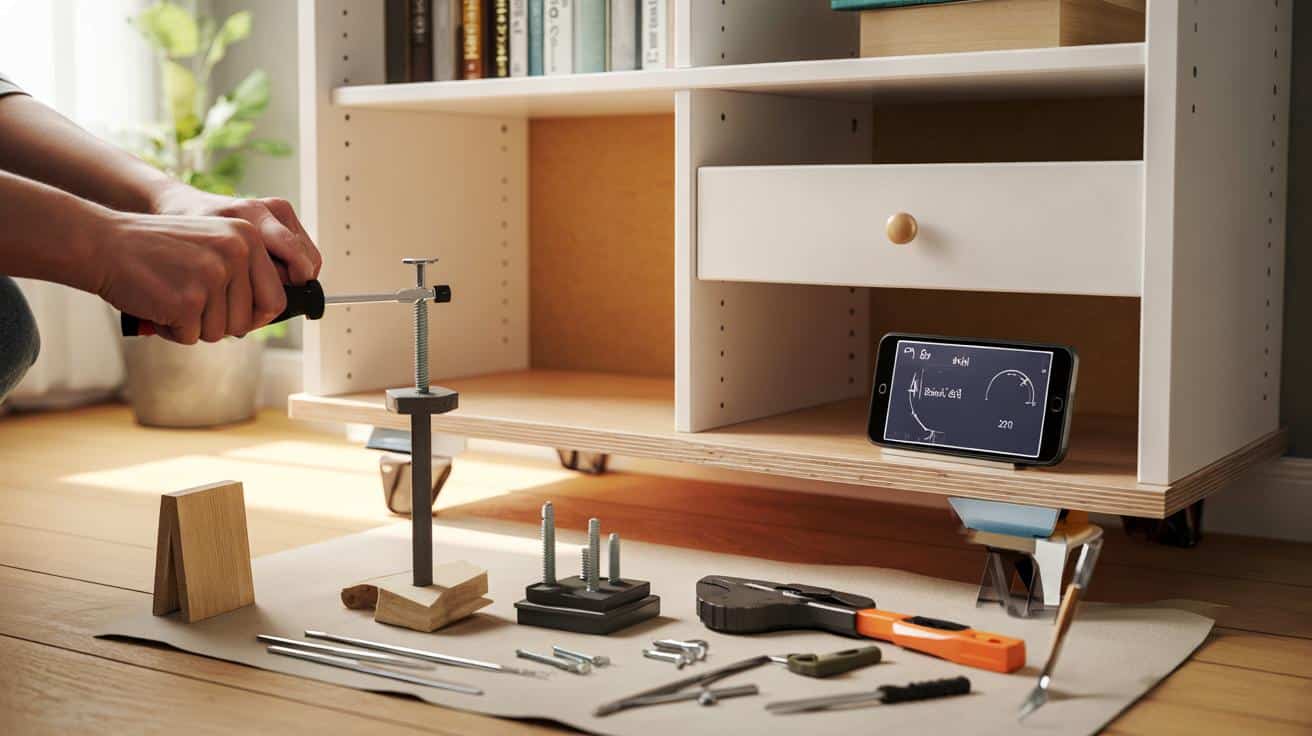
Walk around the unit. Check for gaps, twists and panels that “breathe” when pressed. Open and close every moving part. Watch for sticking points and uneven reveals. Look beneath and behind.
- Touch each visible screw or cam and give it a quarter-turn check
- Use a phone’s level app on the top, front and sides
- Press opposing corners to test racking (side-to-side wobble)
- Confirm feet sit flat; add a temporary shim if the floor waves
Three signs often reveal the culprit: a cam lock not fully engaged, a dowel seated shallow, or a hidden bracket misaligned by a few millimetres.
Cam locks and hidden culprits
Cam-and-bolt connectors do the heavy lifting in many kits. If a joint feels loose, rotate the cam to its locked symbol and re-seat the bolt. Don’t over-torque; use the two-finger rule on your screwdriver handle to avoid stripping.
Where a shelf sits proud on one side, check the dowel depth. Pull the panel back a hair, twist the dowel until it seats, then press home in one motion. A tiny reposition often straightens an entire frame.
Quick stabilisers before you dismantle
Stability returns fastest when you square the structure. Loosen the minimum required fixings, true the shape, then re-tighten in a cross pattern. Add a temporary diagonal strap or hold the back while you snug the fasteners. If your kit includes a thin fibreboard back, nail or screw it on with the unit squared; that back panel acts as a brace.
Wobble often starts at the base. Level the feet, add felt pads, or slip a card shim under a low corner. Tighten hinge plates on doors and adjust the cams on the hinges to even the gaps. A 2 mm tweak can stop a rub.
Aim to spend under 30 minutes and under £15 on the first round of fixes. Most builds don’t need more.
When parts are damaged: low-cost repairs
Stripped or oversized holes
If a screw spins, pack the hole. Use wooden matchsticks or 2 mm dowel with PVA glue, trim flush, and drive a fresh screw once cured. For repeat stress points, use an insert nut or a threaded sleeve to create a new bite that outlasts the original chipboard.
Split panels and blown edges
For minor splits, wick thin PVA into the crack, clamp gently, and let it cure. Reinforce the hidden face with a 3 mm plywood patch bonded with wood glue. If an edge has flaked, melt in wax filler or use a colour-matched repair stick, then burnish with a cloth.
Loose dowels and cams
Dowels that wobble call for a smear of PVA and a reset. For cam bolts that won’t hold, replace the bolt and cam as a pair. Universal cam kits cost a few pounds and often fit IKEA-style systems. Keep spares in a small organiser box.
| symptom | likely cause | fix | time | cost |
|---|---|---|---|---|
| door rubs frame | hinge plate drifted | adjust hinge cams, snug plate screws | 5–10 min | £0 |
| unit wobbles | out of square back | loosen, square, re-fix back, add corner brace | 15–20 min | £3–£8 |
| shelf sags left | dowel shallow on one side | re-seat dowel, tighten cam evenly | 10 min | £0 |
| screw spins | chipboard hole blown | pack with dowel + PVA or add insert nut | 20–30 min | £2–£6 |
Tools that save a Sunday
- Manual screwdriver with flat and cross-head bits
- Allen keys, including the slim sizes kits use
- Rubber mallet and a soft cloth for gentle taps
- PVA wood glue and a small syringe or cotton bud
- Assorted screws, dowels, and universal cam sets
- Corner braces or small angle brackets for hidden reinforcement
- Phone level app, felt pads, and cardboard shims
- Fine pliers and a thin spatula for careful prying
Build to avoid a repeat
Lay out every panel by number and direction. Sort fixings into bowls. Count them. Photograph the layout so you can retrace steps. Read the diagram one page ahead so you see how a joint serves the next step.
Pre-thread tight screws into metal inserts by hand to avoid cross-threading. To protect chipboard, resist power drivers for final tightening; finish by hand. Use the two-finger torque rule again. If a pilot hole looks undersized for a wood screw, widen it by a hair with a hand twist drill to prevent splits.
Weight matters. Keep the heaviest items on the lowest shelf. If children live in the home, fit the supplied anti-tip strap into a wall stud or a solid anchor. An anti-tip kit costs less than £10 and cuts the risk of a forward topple drastically.
The one-piece-at-a-time discipline
When you correct a build, change one element, then reassess square, level and smooth movement. That approach isolates the cause. Full strip-downs introduce new errors and eat time.
Correct one joint, test the shape, then move on. Small wins stack into a stable unit.
A realistic game plan you can follow
Budget 30 minutes for triage and first fixes. Set aside £10–£20 for consumables and small brackets. Start with the base, then the back, then doors and drawers. Only replace a panel when structural damage runs through its core or hardware won’t hold after repair.
If a part is missing, note the article number from the manual and photograph the gap. Customer service teams respond faster when you supply that detail and an image. Many retailers will post small fixings at no charge; a photo avoids the wrong pack turning up.
An autumn checklist for confident builds
- Keep a mini repair kit in the toolbox: insert nuts, spare cams, 4 x 30 mm screws, dowels, wax filler
- Mark “top/front” on hidden edges with masking tape to avoid flipping panels during assembly
- Clamp or weight panels gently while tightening cams to stop creep
- Add one hidden corner brace per metre of width on wide units
- Secure tall units over 75 cm to a wall with an anti-tip strap
Extra context that helps you decide
Chipboard and MDF behave differently from solid wood. They hold best with broad threads and inserts, not thin screws driven hard. Moisture swells edges, so seal raw cuts with PVA. If you move house often, consider adding insert nuts at high-stress joints during the first build; future disassembly becomes safer and cleaner.
You can estimate savings quickly. A return trip may take two hours and cost £8–£12 in fuel. A targeted repair often takes 40 minutes and uses £5–£15 of parts you can keep. For many households, the repair pays for itself on the same day and improves the furniture’s durability beyond the original specification.