A quiet fix is spreading fast across France.
As reservoirs lag and nights cool, a frugal DIY method is turning rooftops into rain harvesters and beds into self-watering plots. For under €10 (about £8.50), a salvaged drum, a budget tap and a slim hose can build a 100% autonomous system powered by gravity. This October 2025, with drought risks never far away, the approach is drawing attention from thrifty growers and sustainability-minded households alike.
Rain you already own
Why roof runoff beats the mains
Rainwater arrives soft, chlorine-free and plant-friendly. It suits seedlings, salads and fruit trees, and avoids raising soil alkalinity. Every rooftop becomes a collector. Once a downpipe is intercepted, a simple tank feeds a drip line without touching the public network. The set-up fits patios, balconies with shed roofs, and urban courtyards as well as larger gardens.
Each 1 mm of rain on a 50 m² roof yields about 50 litres of free water in your tank.
Numbers stack up quickly. A modest 50 m² roof catching 20 mm in a week can deliver roughly 1,000 litres. That volume covers several weeks of light irrigation for a compact veg patch. It also buffers against sudden heatwaves, when taps get shut and soils suffer.
Why many retail kits fall short
Shop-bought irrigation kits promise convenience, but price and complexity put many off. Controllers need batteries. Proprietary hoses limit repairs. Fittings add up. For a few raised beds, this level of engineering feels excessive. The DIY route leans on salvage, standard parts and gravity, with very little to break.
| Feature | Retail kit | DIY rain tank |
|---|---|---|
| Typical cost | €60–€150 | Under €10 if tank is repurposed |
| Power | Batteries or mains | None, gravity fed |
| Install time | 1–3 hours | Under 1 hour |
| Maintenance | Controller upkeep, seals | Seasonal clean, simple seals |
| Scalability | Cost rises with area | Add extra hose branches cheaply |
Under €10: the parts checklist
The charm lies in the minimal kit. Many households already own half of it. A quick rummage in the shed can slash costs further.
- Repurposed container or drum, 40–100 litres capacity (free to €5 second-hand)
- Budget threaded tap or spigot (about €3)
- Thin hose or drip line (offcut or PVC micro-tube; a few metres for €2–€3)
- Teflon tape or a rubber washer for sealing
- Basic tools: drill or hole saw, screwdriver or spanner
- Sturdy stand: blocks, bricks or a pallet stack to raise the tank 30–80 cm
Under €10, less than an hour, and zero electricity: a full watering loop from gutter to bed.
Set-up in under an hour
Positioning and pressure
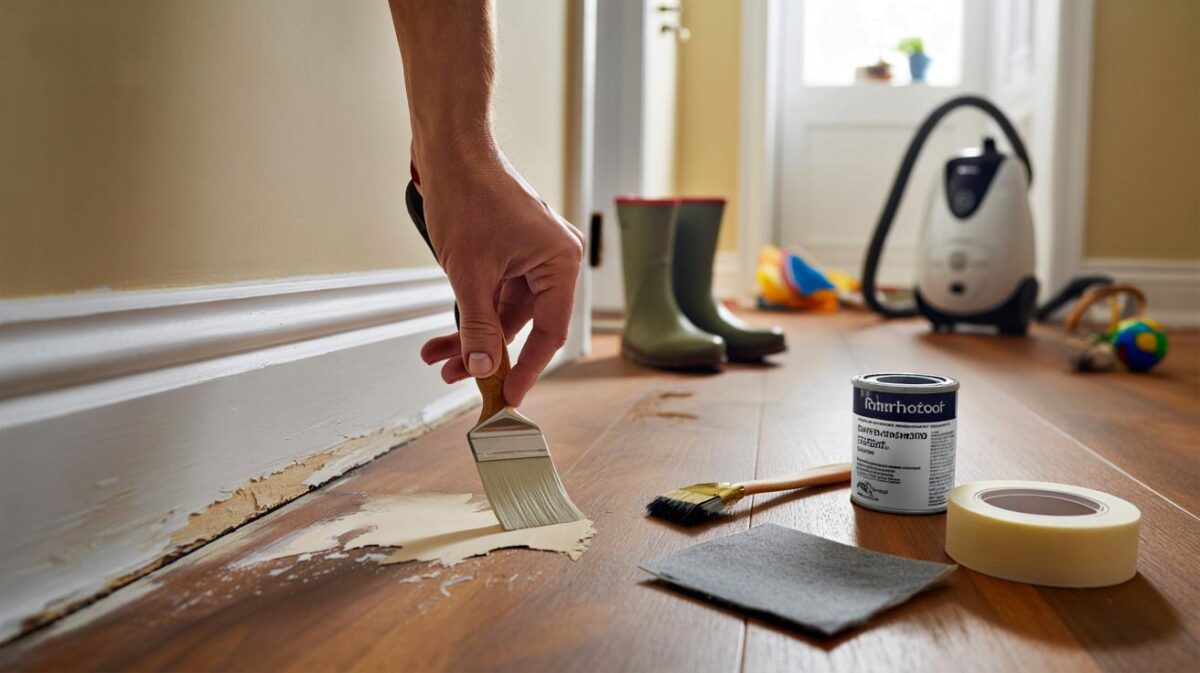
Place the tank beneath a downpipe. A stand gives crucial pressure: roughly 0.1 bar per metre of height. Aim for the outlet 40–60 cm above the soil to keep a steady trickle. Mark a hole near the tank base. Drill carefully, fit the tap snugly, and seal the threads with Teflon.
Attach the hose to the tap. Lay it along beds or to tree bases. Prick the hose with a fine nail where water should exit, or push in simple drip nozzles if you have them. A loop prevents kinks and smooths flow. Test with a filled tank and tweak hole size only if needed.
Leak-proof connections
Hand-tighten first, then a gentle turn with a spanner. Over-tightening distorts plastic and creates leaks. If the tap weeps, wrap extra Teflon or swap in a thicker washer. Keep joints accessible for quick checks after the first few hours of running.
Dial in your watering
For seedlings, aim for a slow, continuous seep. For mature plants, open the tap for short bursts on alternate days. Add a simple inline valve if the tap is too coarse. A basic mesh or stocking at the downpipe keeps leaves out. A lid limits evaporation and blocks mosquitoes.
Height equals pressure; cover equals hygiene. Those two choices decide how well the system performs.
Care, seasons and snags
Routine that takes minutes
After each rainy spell, glance at the level. Open the tap for five to ten minutes per zone, then close. In winter, drain the tank to avoid frost cracks. In spring and autumn, rinse the tank to remove sediment and odours.
Quick fixes to common issues
- Drip too weak: raise the tank by 20–30 cm or shorten the hose run.
- Uneven flow along the line: reduce hole size near the tap; use a ring layout around beds.
- Tap still drips when closed: replace the washer or add two wraps of Teflon.
- Green water: keep the lid on; shade the tank to suppress algae.
- Mosquitoes: ensure the lid seals; add a fine mesh on the inlet.
Savings you can feel
Water and money, counted
A 100-litre tank repeatedly filled from October to June can supply around 1,000 litres across the cool months. Many households pay €3–€5 per cubic metre; some pay more when standing charges are factored in. The direct savings look modest on paper, but the timing matters: you draw less from the mains during peak tariff months and avoid emergency watering during restrictions.
For a small veg patch of 8 m², light drip irrigation might need 6–10 litres a day in dry spells. A single full tank covers 10–16 days. Two tanks linked in series stretch that to a month of gentle moisture without touching a tap.
What it means for your plants
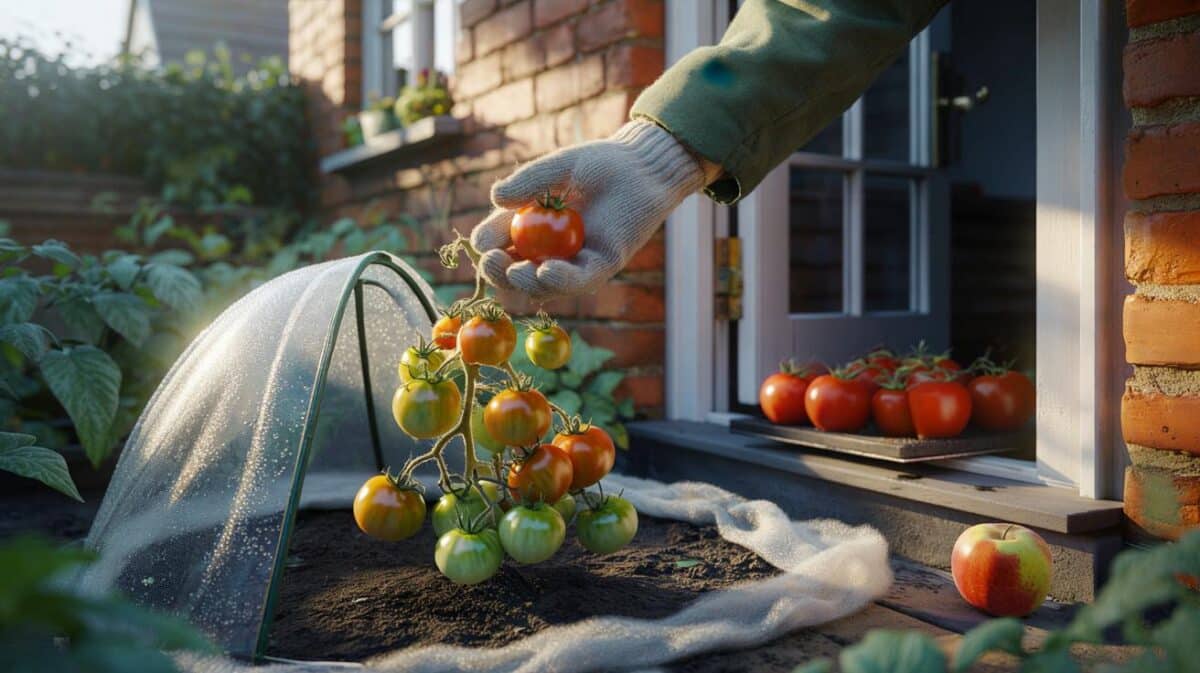
Plants respond to consistent moisture. Roots go deeper. Fruits set more reliably. Many growers report fewer blossom-end rot issues in tomatoes when chlorine and salts stay out of the picture. Soil biology also benefits from softer water and fewer boom-and-bust cycles between soakings.
Health, safety and practical notes
Rainwater from roofs is not for drinking. Keep signage if children help in the garden. Use opaque containers to deter algae. Rinse new or previously food-grade drums; avoid any container with an unknown chemical history. Fit a simple overflow elbow to send excess back to the drain during downpours.
A “first-flush” diverter is optional but helpful on dusty roofs. It shunts the initial dirty litres away from the tank after a dry spell. If you live where freezes bite, add a quick-disconnect at the tap so you can stow the hose indoors.
Going further for under €20
Two upgrades lift performance without complicating things: a small inline filter (about €5) extends hose life, and a handful of budget drippers rated 2 L/h gives predictable delivery. Mulch the beds with 5–7 cm of shredded leaves or straw to halve evaporation. That combination turns each litre into longer, steadier moisture in the root zone.
If you run containers on a balcony, swap the open hose for a capillary mat tucked under pots. The same tank will wick water upwards with almost no loss to wind or sun. For orchards, branch the hose with T pieces and place outlets at the drip line of each tree. Add or remove outlets as canopies grow.
A repurposed tank, a €3 tap and a few metres of hose give you autonomy when the weather turns against you.
A quick simulation for planning
Assume a 60 m² roof, average autumn rainfall of 40 mm per month, and a 120-litre pair of linked tanks. You could capture roughly 2,400 litres in a month with regular storms, allowing for overflow and first-flush losses. A mixed bed of salads, beans and herbs using 8 litres a day would need about 240 litres per month in cool weather, leaving a large buffer for dry weeks. In summer, consumption rises, so doubling tank height or capacity helps maintain flow without buying pumps.
What to watch next season
Local by-laws sometimes cap above-ground storage volume in visible front gardens. Check guidance before stacking big tanks by the pavement. If your roof is new zinc, let it weather before harvesting water for edibles. Where pigeons roost on tiles, increase filtration and clean more often. Pair the system with a soil moisture meter to avoid overwatering; many gardens need less than habit suggests.