A flying toy. One loud thud. The living room door now wears an ugly, fist-sized crater.
Across the UK, quick fixes often hide the damage. A cleaner route has risen from garages and sheds: a straightforward two-stage repair that blends in and saves cash.
Why a gaping hole isn’t the end of the door
Most internal doors in British homes are lightweight, often honeycomb or hollow-core with thin skins. They look smart, keep rooms private, and cost far less than solid timber. They also dent easily. A punch, a misplaced chair leg, or a football can breach the skin and cave in the void.
Replacing a door can mean £45 to £120 for a basic slab, plus hinges, latch alignment, fresh paint, and a Saturday lost to faffing. That is why a low-cost, low-bother repair has become the favourite among keen DIY fans. It relies on controlled volume filling and a fine surface build-up to bring the panel back to flat.
For hollow-core doors, expand to fill the void, then refine the surface: volume first, finish second.
The fix people are whispering about
The method pairs expanding PU foam with a fine finishing filler. Foam re-creates the missing core without weight, while filler gives the paint-ready skin. The trick lies in restraint: add less than you think, let chemistry do the work, and shape patiently.
What you’ll need
- Expanding polyurethane foam (low-expansion type is easier to control)
- Ready-mixed fine surface filler or two-part wood filler
- Utility knife with fresh blades and a small handsaw or oscillating tool
- Masking tape, dust mask, and gloves
- Filling knives (two widths) and sanding blocks (120, 180, 240 grit)
- Tack cloth or a barely damp, lint-free cloth
- Primer and matching topcoat, mini-roller and fine brush
Budget check: expect £18–£30 for materials, around 60–90 minutes of hands-on time, plus drying.
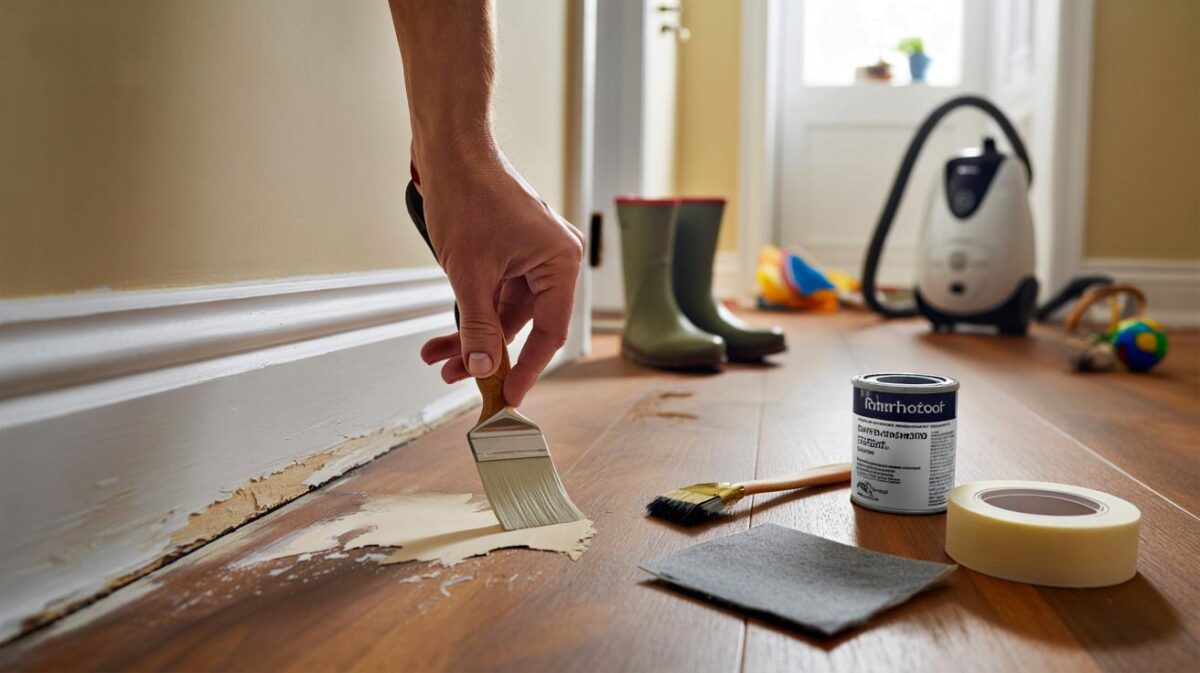
Preparation that saves you money
Square up the wound. Cut loose fibres and torn edges to a clean, slightly bevelled opening. Vacuum the cavity. Mask a wide halo around the hole to protect the sound skin and to give you a tidy edge for filler later. If fragments flap inside, trim them away; a neat mouth makes finishing faster.
Foam done right: control the expansion
Shake the can well. Dampen the cavity lightly; PU foam cures better with a hint of moisture. Inject a modest amount, about a third of the void volume. Stop. Let it rise for 10–15 minutes. If the hole is deep, build in two or three passes, allowing each to expand. You are creating a firm but compressible backer, not a bulging blister.
When cured to the touch, slice the proud foam flush with the door skin. Keep the blade flat to avoid gouging. You want a level plane that supports your filler without spring.
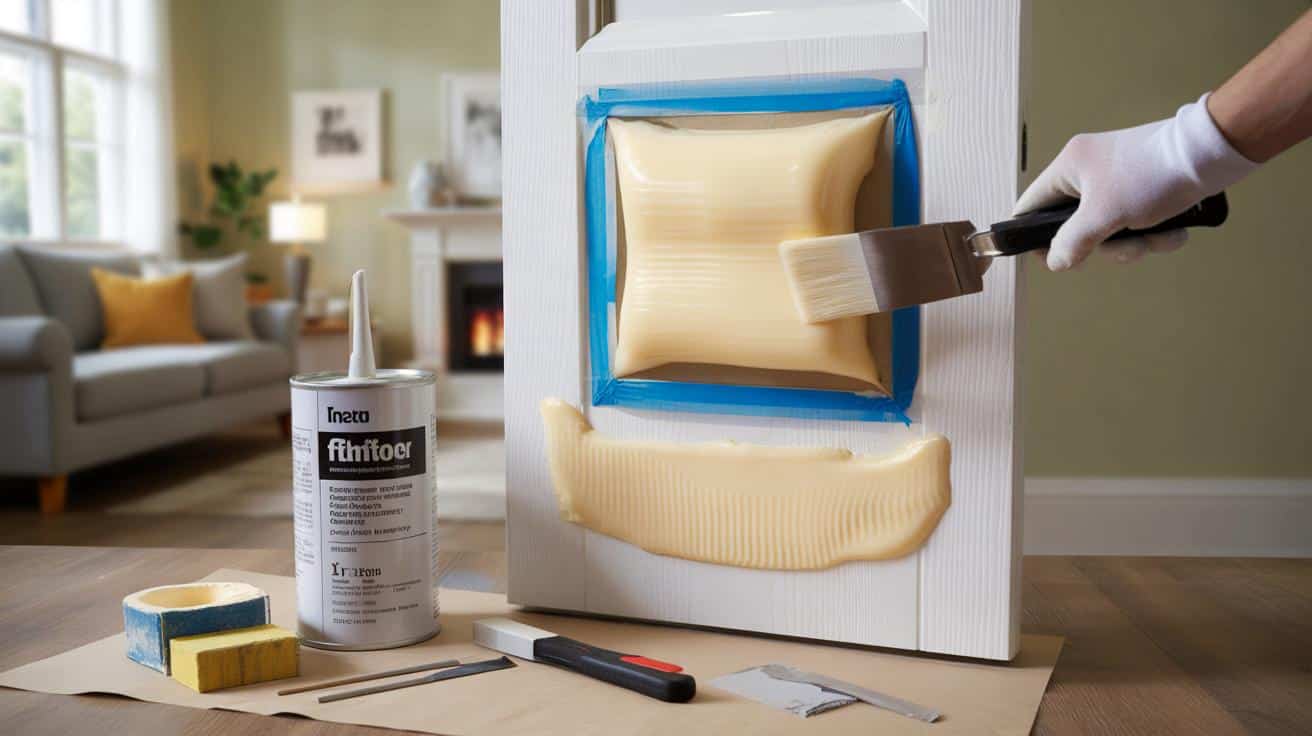
Filler, sanding and blending: the invisible finish
Prime the foam edge with a thin skim of filler to key the surface. Once dry, lay a wider, thinner coat, feathering 5–10 cm beyond the hole so the transition disappears under paint. Sand lightly with 180 grit. Repeat with a finer layer, and sand with 240 grit to a uniform, silky feel. Hold a low light across the panel; shadows reveal ridges that need attention.
Thin coats win. Two to four light passes outlast one heavy blob and need far less sanding.
Paint and texture: matching the original panel
Prime the repaired area to seal filler and foam. Match sheen as much as colour; a satin on a matt door betrays the patch at once. Roll the flat surfaces with a short-nap sleeve, then tip off edges with a fine brush. If the door has a slight orange-peel from a factory coat, mimic it with a light, dabbing pass while the paint tacks. If the whole leaf looks tired, repaint the full face for a uniform finish.
Pitfalls that trip up first-timers
- Overfilling with foam can dome the skin and waste sanding time.
- Skipping dust removal leads to poor paint adhesion and dull patches.
- Thick filler shrinks and cracks; thin layers build strength.
- Colour match alone is not enough; match sheen and texture as well.
| Approach | Typical cost | Hands-on time | Best for |
|---|---|---|---|
| Foam + fine filler | £18–£30 | 60–90 mins | Hollow-core, holes up to palm-size |
| Timber plug + filler | £10–£25 | 90–120 mins | Solid timber doors, clean circular holes |
| Door skin patch | £25–£50 | 120–180 mins | Large areas, veneered finishes |
Safety, door types and when to walk away
Check the door’s job before you start. Fire doors and FD-rated doors are heavier, thicker, and have certified cores. A cosmetic patch on one of those can break compliance. If the edge label shows a fire rating, speak to the building manager or replace like-for-like.
For solid timber doors, a different tactic works better. Use a holesaw to cut a neat circle around the damage. Glue in a matching timber puck with PVA or polyurethane adhesive, clamp, then plane flush and fill hairlines. This keeps strength where the latch and hinges need it.
If the damage reaches the latch, splits the stile, or leaves the door warped, a new slab saves time in the long run. Measure thickness, hinge positions, and latch backset before you buy so fitting goes smoothly.
Fire door label present? Do not patch. Replace with the correct rated leaf and hardware.
Step-by-step snapshot you can follow today
- Mask the area and cut a clean opening around the hole.
- Lightly moisten the cavity and add a small charge of foam.
- Let it expand, then trim flush with a sharp blade.
- Apply thin filler coats, feather wide, and sand between passes.
- Prime, colour-match the sheen, and blend the texture.
Helpful extras to lift the result
Mind the room climate. Cold rooms slow curing, and humid rooms soften water-based fillers. Aim for 15–22°C and good airflow. Ventilate while using foam and paints to reduce VOC exposure. Wear gloves; uncured foam sticks to skin and clothing.
Test your paint match on a card first and hold it against the door in daylight and under evening bulbs. Many whites shift under warm lamps; a satin “brilliant white” may look creamy next to an older “pure white”. Keep a small labelled pot for future touch-ups.
Want to practise before touching the door? Use a scrap of hardboard or the back of an old cupboard shelf. Punch a hole, foam it, fill it, and paint. Ten minutes of rehearsal can shave an hour off the real job.
Rough cost guide for a first repair: foam £8–£12, filler £6–£10, abrasives £3, masking and sundries £3–£5, paint already in the shed or £12–£20 if you refresh the whole leaf. That keeps the total below the price of a new door and avoids the hassle of rehanging and trimming.