One quiet culprit lurks in millions of kitchens: the tired rubber seal around the fridge door. When it stops gripping, cold air slips out, warm air creeps in, and food spoils sooner. A simple, fast repair can stop the leaks, steady temperatures and lighten energy use without calling a technician.
Why a tired fridge seal costs you more than food freshness
A worn gasket makes your compressor work longer to keep the cabinet cold. That means more noise, more electricity and a less stable chill for dairy, meat and leftovers. It also invites condensation, which freezes on internal surfaces and nudges temperatures upward each time you open the door.
The tell-tale signs your seal has given up
- Condensation forming around the door edge or on shelves after short openings.
- A door that bounces back or feels sticky rather than crisp and secure.
- Persistent humming as the compressor cycles more often than usual.
- Frost lines or damp corners near the door track.
- Food ageing faster than it did a month ago at the same thermostat setting.
The maths behind the waste
Household tests often show a leaky seal pushing fridge energy use up by a noticeable margin. On older models, losses can nudge annual costs by tens of pounds, especially when ambient temperatures drop and you open the door more for batch cooking and festive prep. Food waste climbs too when the chill is uneven, which hits the wallet twice.
When the seal fails, you pay twice: once on the meter and again at the bin. Fixing it restores cold, calm running and protects your shop.
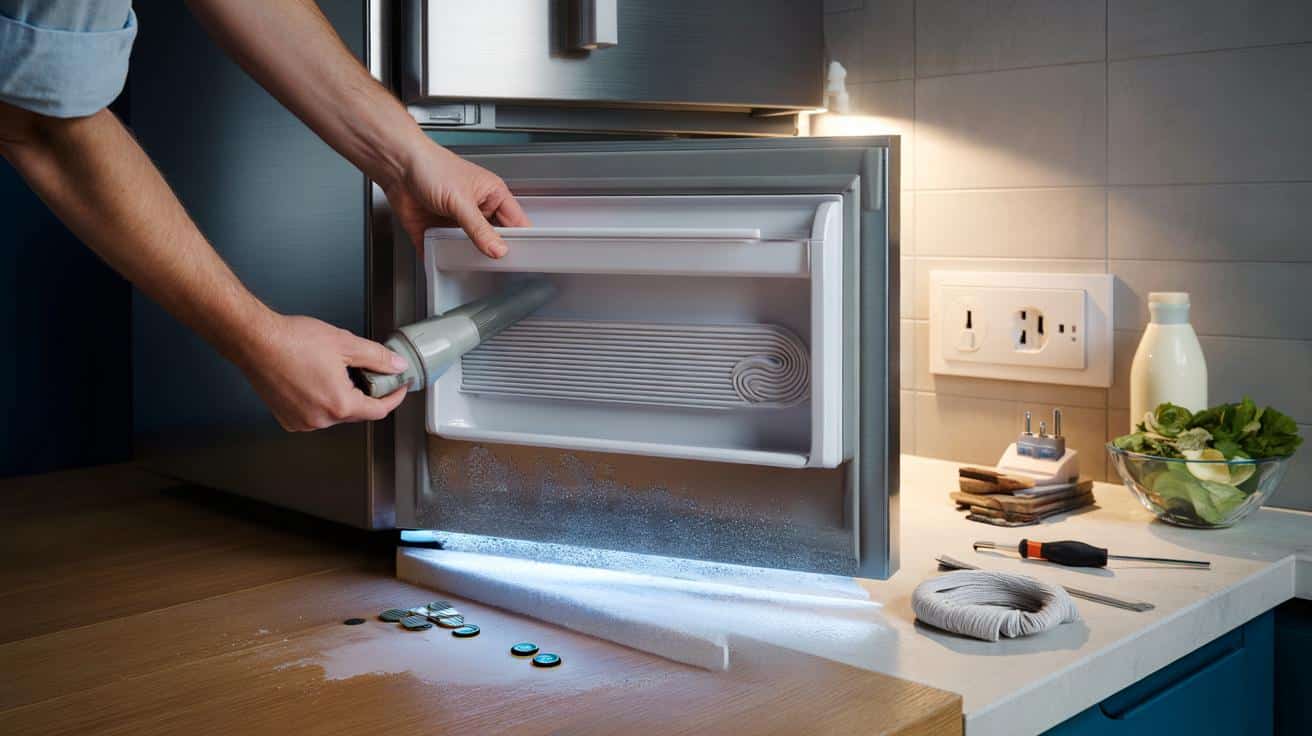
The 15-minute fix you can do today
What you need on the counter
- A replacement door gasket compatible with your model (check the model code on the data plate).
- A screwdriver that matches the door fixings (flat or cross-head).
- A hairdryer on low heat to soften the new gasket for an easier fit.
- A clean cloth.
- Warm, soapy water for a quick clean of the seating channel.
Get the fridge ready in two minutes
Unplug the fridge, then move perishable items into a cool bag or a box with ice packs. Wipe the door rim to remove grime and crumbs. Clear the floor area: a few drops of water may escape while you work.
Step-by-step without jargon
- Find the fixings under the inner door lip. Loosen them gently; there’s no need to remove every screw.
- Peel away the old seal with care so you don’t nick the plastic channel.
- Warm the new gasket with a hairdryer on low, about 30 cm away, for a few seconds to relax the rubber.
- Seat the new gasket in the channel, pressing firmly all the way around to avoid twists or dips.
- Retighten the screws evenly. Aim for snug, not overtight, to prevent warping.
- Power the fridge back on and let it settle for ten minutes before testing.
The hairdryer trick is the time-saver: a few seconds of gentle heat softens stiff PVC, so it slips into place without a fight.
Test, tweak and make it last
The paper test and quick checks
Slide a sheet of A4 between the door and the cabinet, then close the door. Tug the paper. If it holds firm with a slight resistance, your seal is gripping. Repeat at the top, bottom and hinge side. Look for beads of moisture at the edge after an hour; a dry rim is a good sign.
Behaviours that extend gasket life
- Wipe the seal monthly with warm water and a pinch of bicarbonate of soda to remove grease and crumbs.
- Avoid slamming the door or hanging heavy jars on the top shelf of the door.
- Set the temperature around 4°C for the fridge and −18°C for the freezer for efficient, stable cooling.
- Leave space around the cabinet so heat can escape from the condenser at the back.
- Inspect the seal every three months for nicks, hard spots or gaps, especially in winter.
What it costs and when it pays back
| Item | Typical range |
|---|---|
| Replacement gasket | £20–£60 depending on brand and size |
| Tools | £0 if you have a screwdriver and hairdryer |
| Time | 15–30 minutes for most single-door fridges |
| Annual saving potential | ~£10–£30 on electricity for many homes |
| Payback window | Under a year to three years in typical cases |
Pitfalls to avoid when doing it yourself
Too much heat, too little patience
Blasting the gasket with high heat can deform the magnetic strip inside, leaving a ripple that never seals. Keep the dryer low and moving. If the seal fights you, pause, rewarm and reseat, rather than forcing a corner that will kink later.
Overtightening and misalignment
Cranking screws hard can pinch the seal and create gaps elsewhere. Tighten in stages, switching sides so the pressure spreads evenly. Check corners twice; they bear the brunt of opening and often need a firmer press.
Buying the wrong part
Fridge doors use push-in or screw-in gaskets, and profiles vary. Lift a corner of the old seal to see how it attaches, then order by model code from the appliance label, usually inside the fridge or near the salad drawer. If the new seal arrives folded, let it relax flat before fitting.
Warranty and safety
If your appliance is still under warranty, read the terms first. Most policies allow seal replacement, but document the job with a few photos. Always unplug before work and keep cables away from water.
Why this small fix matters for households now
Fridges run all day, every day, making them one of the most active devices in the home. A healthy seal gives the compressor longer rests, trims noise and keeps milk, salads and leftovers at steady temperatures. That cuts repeat shopping and reduces waste during a period when grocery budgets feel stretched.
There’s a knock-on environmental benefit. Restoring a seal avoids scrapping an otherwise sound appliance, keeps plastic out of the bin for longer and reduces the carbon footprint linked to wasted food. Take the old gasket to a local recycling centre with other bulky plastics if your council accepts them.
Extra help: model quirks and smarter maintenance
Know your door design
American-style and integrated fridges often have wider, heavier doors that can sag slightly. If the seal seems fine but the paper test fails at the top corner, raise the door a fraction on its hinge or shim the lower hinge with a thin washer to restore alignment. Check your manual for the hinge type before adjusting.
Keep the cold where it counts
Simple habits support the new seal. Let hot food cool before storing. Group items so door openings stay short. Clean the rear coils twice a year with a soft brush to improve heat release. If frost keeps returning near the seal, check that shelves or tall bottles aren’t pushing the door out of true.
Fifteen minutes, a £25 gasket and a hairdryer can restore a tight seal, tame the compressor and stabilise your weekly shop.
If you want to go further, time a week of usage with a plug-in energy meter, then repeat after the fix. You’ll see how cycles shorten when the door holds tight. For households with older appliances, consider pairing this repair with a new door strip on the freezer, as freezers suffer even more from air leaks and can waste energy faster when seals fail.
Finally, consider timing: fit new gaskets during the day so you can monitor temperature recovery with a simple fridge thermometer. Aim for 4°C in the main compartment by evening. If it drifts, check the corners again, warm and reseat any stubborn sections, and repeat the paper test around the full perimeter.